
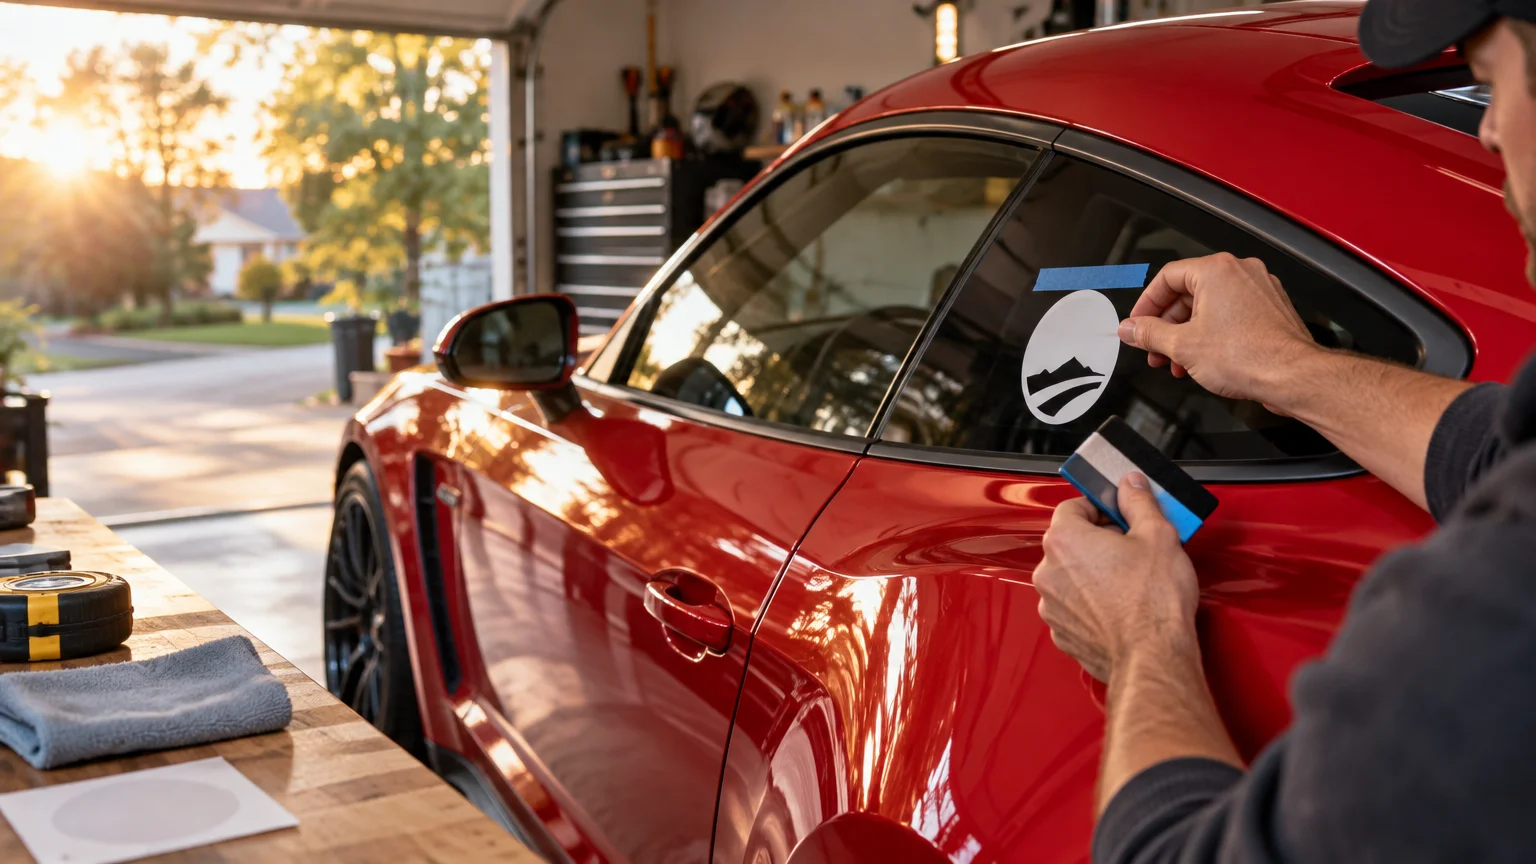
The cleanest way to apply a club car sticker is to work on a cool, dry, freshly cleaned surface; measure before peeling; create a masking-tape guide; and press the graphic down progressively rather than dropping the whole thing onto the panel. The sticker manufacturer’s instructions should always win, but that basic process prevents most crooked graphics, trapped dirt, weak edges, and mismatched placement across club cars.
Consistency matters when several Corvettes arrive together at a show or charity drive. A decal that is half an inch higher on one car may not sound important in the garage, but the difference becomes obvious when the cars are parked in a row. A simple club installation standard can make every generation look coordinated without pretending that a C3 door and a C8 quarter panel are shaped alike.
Identify the sticker before choosing a method
“Car sticker” can describe several products, and they do not all install the same way. Confirm what you have before reaching for a spray bottle, squeegee, or heat gun.
| Graphic type | What happens during installation | Important distinction |
|---|---|---|
| Peel-and-stick sticker | The complete sticker is peeled from its backing and remains on the car. | Usually the simplest choice for a small club emblem. |
| Cut-vinyl transfer decal | Application tape holds separate letters or shapes together until they bond to the surface. | The carrier is removed after the individual pieces adhere. |
| UV DTF transfer | Pressure transfers the printed design to a compatible smooth, hard surface; the carrier is then removed. | This is not garment DTF and does not use textile heat application. Confirm vehicle-surface compatibility first. |
| Large vehicle graphic | Film is positioned and pressed progressively across a larger area. | Curves, recesses and seams can justify professional installation. |
Do not assume that wet installation is appropriate. Avery Dennison publishes fluid guidance for certain window-film processes, while its vehicle-wrap guidance calls for dry application. The instructions for the exact product control. Likewise, never improvise with heat unless the manufacturer specifically calls for it.
For a new club order, request written installation and surface-compatibility instructions before approving the full run. CustomStickers for custom vinyl stickers and artwork preparation is one available starting point when a club needs graphics produced from its design, but the committee still needs to match the exact material and adhesive to the intended vehicle surface.
Choose a low-risk location
A clean, relatively flat panel is friendlier than a deep recess, sharp contour, underside edge, body seam, or wheel-well-adjacent area. Those complex locations face a greater risk of lifting and may require an experienced installer. Leave enough clearance around the design that members can wash and dry the surrounding area without constantly catching an exposed point.
Be especially cautious with restored paint, fresh paint, paint-protection film, wraps, ceramic coatings, and unknown older finishes. Avery says fresh paint should complete the paint manufacturer’s specified curing period before graphics are installed. If the surface is valuable or its compatibility is uncertain, ask the paint, film, coating, and sticker suppliers before applying anything.
Windows and license plates introduce visibility rules as well as design questions. Indiana law restricts nontransparent material on windows when it obstructs the driver’s clear view, subject to specified exceptions. The Indiana Bureau of Motor Vehicles’ plate-display guidance also says plate characters and registration stickers must remain fully visible. A club emblem is not worth creating an obstructed view or plate problem.
Prepare the car and workspace
Work indoors or in a sheltered area when possible. Wind carries dust under adhesive, while direct sun can heat the panel and make a graphic grab before it is aligned. A broadly useful installation range is 60–90°F, or 16–32°C, for both the air and vehicle surface, according to 3M’s vehicle-graphics application guidance. Cold can weaken initial tack and introduce condensation; excessive heat can make film difficult to reposition. Avery likewise notes that temperature changes film pliability and adhesive aggressiveness. Its vehicle-wrap guidelines should be read alongside the instructions for the specific film.
Wash the area with detergent and water, avoiding cleaners that leave wax, oil, polish, or lotion behind. Dry the panel completely. Immediately before application, complete the final cleaning step specified by the graphic manufacturer. 3M commonly calls for an appropriate solvent or isopropyl-alcohol cleaning step, but solvents should be tested in an inconspicuous area and confirmed safe for the finish.
Measure once for the car and twice for the club
With the backing still attached, hold the graphic in place using small pieces of masking tape. Step several feet back and inspect it from the angle at which people will normally see the car. Measure from stable panel references such as an edge, crease, lamp housing, or badge—not from the floor, because tire pressure, suspension, and pavement slope can mislead you.
For multiple cars, make a short placement record for each Corvette generation or body style. Include the panel, orientation, two measurements, and a photo. Do not force one universal measurement onto differently shaped panels. The goal is a shared visual position, not an identical ruler reading on every generation.
- Confirm the graphic is facing the correct direction.
- Check both horizontal and vertical alignment.
- Make sure doors, hatches, fuel doors, and removable roof panels can operate normally.
- Mark a centerline or edge with masking tape.
- Ask a second person to inspect larger graphics before any backing is removed.
Apply the sticker with controlled pressure
For a small peel-and-stick emblem, peel back only enough liner to expose a narrow starting edge. Align that edge with the tape guide, tack it lightly, and press across the design in overlapping strokes. Keep the unapplied portion away from the panel until you are ready for it. This reduces the chance of the adhesive touching in the wrong place.
For larger lettering or transfer graphics, use the measured centerline and masking tape as a hinge or positioning guide. Apply pressure progressively with a clean squeegee, working across flatter areas before tackling more difficult sections. Both 3M and Avery describe measured positioning and progressive pressure as core installation practices.
Transfer graphics need firm, even burnishing over every letter, narrow stroke, and pointed edge. Remove the carrier slowly while watching the design. If part of a UV DTF transfer begins to lift with the carrier, stop and burnish that section again rather than pulling harder. Inadequate pressure, surface residue, rushed carrier removal, and attempted repositioning after contact are identified application-failure risks for this product type.
Inspect the result before the Corvette leaves
Walk around the car in good light. Check every edge, small letter, and narrow point. Do not puncture, heat, or aggressively work a bubble unless the product instructions approve that correction. Some films allow specific repair techniques; an ordinary printed sticker may not.
Keep the car sheltered and avoid washing or stressing the graphic for whatever period the manufacturer specifies. Give every member the same care instructions, preferably on a small card included with the decal. That turns a club project into a repeatable process instead of a parking-lot experiment.
If the decals support a cruise, fundraiser, or gathering, assign one person to manage placement records and supplies as part of the broader Corvette club event plan. Bring extra masking tape, clean squeegees, approved cleaning materials, lint-free towels, and several spare decals. Most importantly, give owners permission to wait. A dusty, windy show field is rarely the right place to attach something permanent to cherished paint.
Make the first car your installation standard
Install the first graphic on a representative car before distributing the entire batch. Photograph it, record the measurements, note the temperature and surface, and refine the instructions while the details are fresh. Then repeat the proven process across the club.
The winning formula is not complicated: use the right product, choose a sensible location, clean thoroughly, measure from stable references, and apply steady pressure in a controlled workspace. That little bit of discipline produces the clean, consistent look that makes a line of club Corvettes feel like a team.
Frequently Asked Questions
What is the best way to prepare a car for a sticker?
Wash the area with detergent and water, avoid products that leave wax or oil behind, and dry it completely. Follow the sticker manufacturer’s final-cleaning instructions, and test any approved solvent on an inconspicuous spot first.
What temperature is best for applying car stickers?
3M recommends a general range of 60–90°F, or 16–32°C, for the air and vehicle surface. Cold can reduce initial adhesion, while excessive heat can make the graphic grab too quickly. Product-specific instructions still control.
Should car stickers be applied wet or dry?
Do not assume either method is universal. Some window-film processes allow application fluid, while vehicle-wrap guidance may require dry application. Follow the instructions for the exact sticker or film.
How can I keep a club sticker straight and free of bubbles?
Measure from stable body references, mark the position with masking tape, expose only a narrow starting edge, and press the graphic down progressively. For larger decals, use overlapping squeegee strokes instead of dropping the entire adhesive surface onto the panel.
What should I do if a transfer decal lifts with the carrier?
Stop pulling and burnish that section again with firm, even pressure. Resume carrier removal slowly while watching narrow letters, points, and edges.
Can a club sticker go on an Indiana window or license plate?
Only where it does not obstruct the driver’s clear view or cover required plate information. Indiana restricts nontransparent window material that blocks visibility, and the BMV requires plate characters and registration stickers to remain fully visible.
References
- www.averydennison.com
- IB 1.2 – Wet Application Method
- Application: Vehicles
- Indiana Code § 9-19-19-3. Decals, Signs, Posters, Sunscreens, or Other Nontransparent Material :: 2024 Indiana Code :: U.S. Codes and Statutes :: U.S. Law :: Justia
- Registrations & Plates: License Plate Frame and Sticker Display Requirements
- Introducing UV DTF Transfer Stickers: What They Are and How to Use Them – CustomStickers.com